DIESEL OIL COOLER KIT FITTING NOTES
– Please note that the design of the mounting brackets has now changed but the instructions are still relevant to the new style brackets. –
As VW didn’t fit an oil cooler from the factory there isn’t really a right or wrong way to fit this kit as the vehicles differ in spec and equipment, so the following guide is to help you understand why parts of the installation are done in a certain manner, but the routing of pipes etc is down to you.
As VW didn’t fit an oil cooler from the factory there isn’t really a right or wrong way to fit this kit as the vehicles differ in spec and equipment, so the following guide is to help you understand why parts of the installation are done in a certain manner, but the routing of pipes etc is down to you.
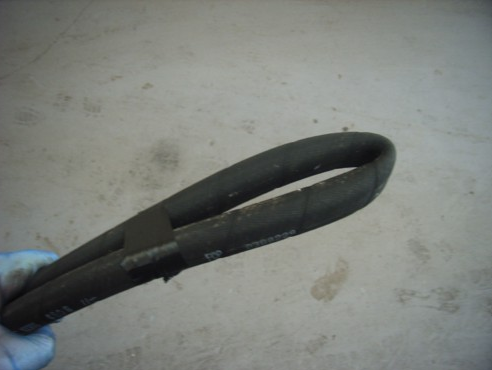
First start by taking the length of hose supplied and find the centre, then fold it in half and take it like so, this helps you feed it above the fuel tank and stops you filling it full of dirt when passing it down the length of the vehicle. Once you have done this then feed it over the steering rack and fuel tank (for 2WD models). Don’t clip it in place yet, just get it roughly into place.

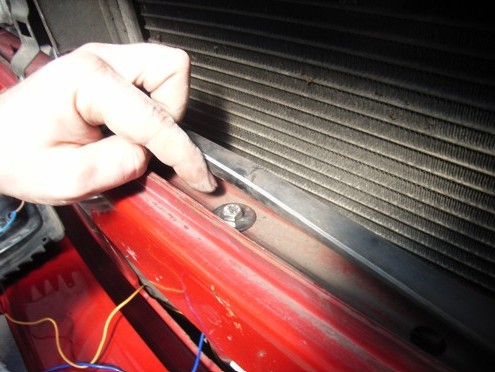
From underneath, remove the lower radiator filler panel, yes, that manky bit of cardboard! That’s if it’s still there!
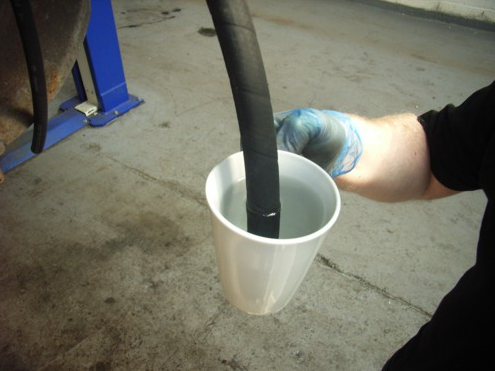
To fit the pipe unions you will need to soften the hose with boiling water.

Then with the aid of a bit of lubricant push the softened rubber hose onto the barb of the union.

Keep pushing until the rubber meets the red ring. These fittings do not require the use of hose clips or swaged tubes, the design of the hose and barb are such that if you try to remove the pipe by pulling you will in fact create a greater seal

Once you are happy with the unions for the cooler, lay them out like the image above making sure the hoses pass between the spare wheel carrier rods and the front panel, if you don’t the hoses will foul the spare wheel! Please take care when making the final connections and tightening things up, all threads to be greased lightly and to be tightened no more than 30nm. 2 spanners should be used on the cooler itself as to support the welded bosses on the cooler. We will not accept warranty claims for coolers with broken welds on the unions for obvious reasons.

Unclip the 2 wiring loom camps that hold the loom to the front panel, we will be using the holes that are left to mount the cooler.

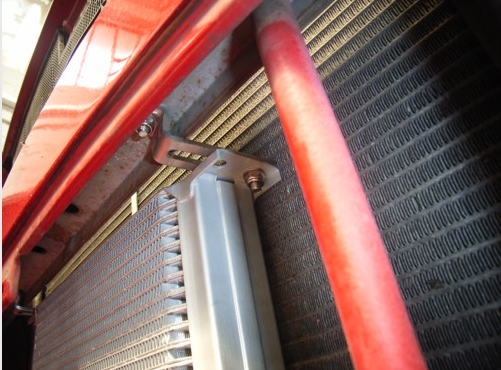
This is how the upper cooler mount goes.
This is what it should look like once installed. Leave all the fittings loose for the moment, get everything bolted together and nearly nipped up but leave enough slack on the bolts so that you can adjust the position of the cooler.

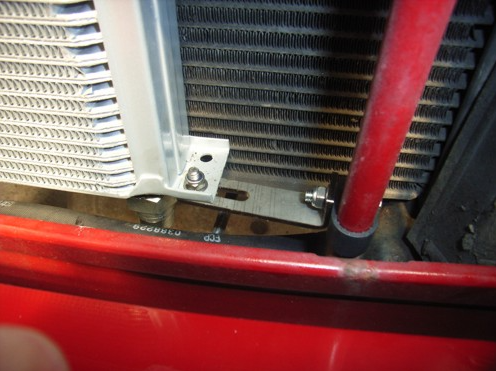
…and this is what it should look like from the lower side.
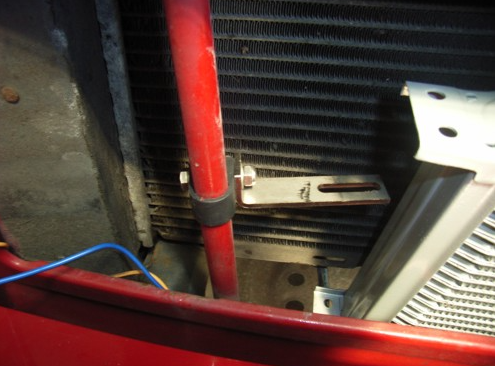
Loosely attach the lower mountings.
Once all the mountings are installed then connect them to the cooler. we find it easier to attach the hoses to the cooler and tighten them before the cooler is fixed into place.
How the top mount should look once everything is in place. Once you are happy then remember that to avoid hotspots in the radiator and cooler that you need to get the cooler as close to the radiator as possible without touching it. We find it handy to use a piece of corrugated carboard between them to set the gap then tighten all the mounting bolts fully to lock it’s position, then obviously remove the cardboard!