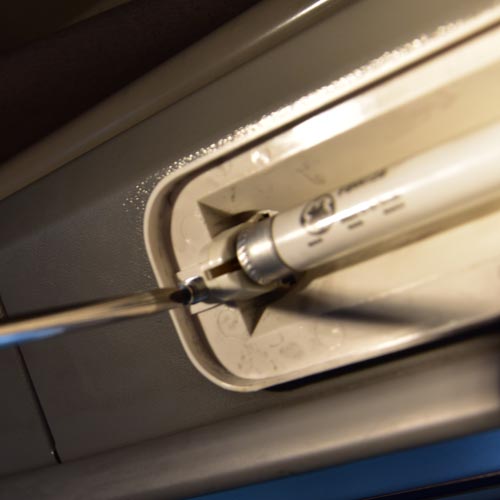
This is something we’ve been asked for a lot, but we’ve avoided as the stuff available isn’t exactly simple to install and involves dismantling the existing light units and modifying the units internals to run an LED tube.
These however are a simple replacement for the complete existing light unit as used in T3 and LT Westfalia models.
No parts of the original light unit are needed. You can wrap your original Westfalia parts up and keep them safe for refitting later or even sell ’em if you’re not bothered about keeping your original parts.
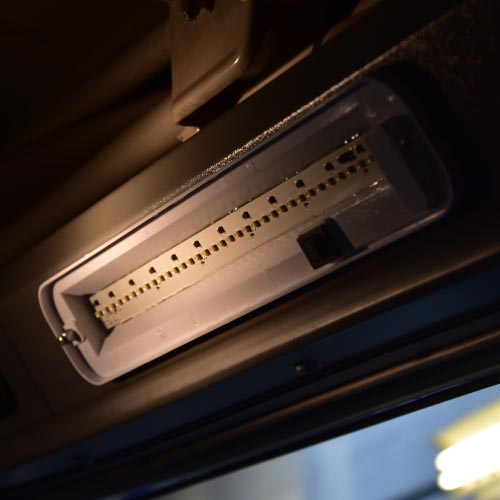
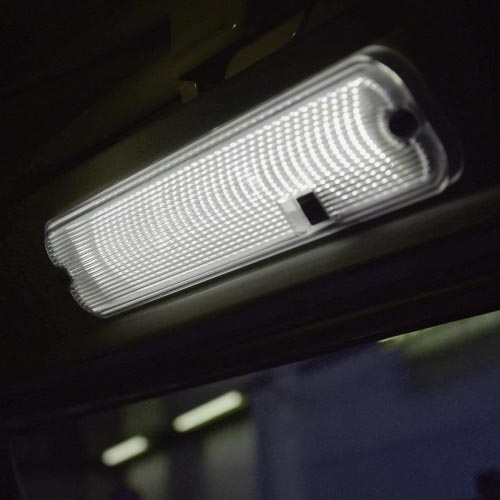
Our LED replacements are externally identical to the originals. Nice clean lenses, new switches. No re-using anything from your old light. It doesn’t get any simpler.
They give a crisp light… 4000k is the figure, but its described as “Natural White”
Being LED, current consumption is much lower than the old Fluorescent units too… an important consideration if you’re a solar powered off-grid living spoon whittler.
We were going to make a small fitting video, but to be honest its so simple a couple of photos will do it. Read on…
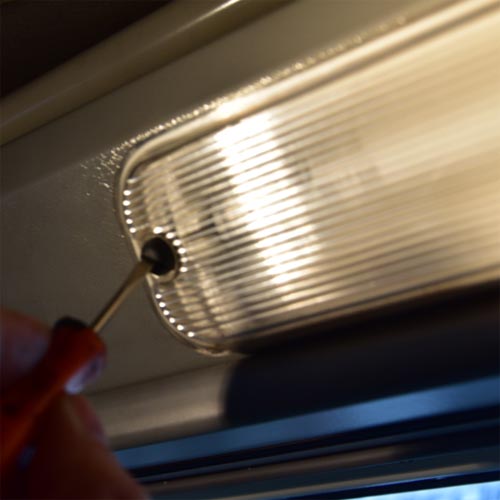

Now at this point you have a couple of options. You can crimp new spade connectors onto the wiring for the existing light, and plug it back in. You’ll see the connectors on the webshop as related items. This is the nicest, most factory way of doing it.
However… on the non sliding door side you will most likely find that the wiring connectors shown in the image aren’t accessible due to the shape of the shelf there.
So the other option would be to snip the existing wires, and join the new wires to the old – Black to Brown, Red to Blue. Ideally solder them, but we’ll leave that up to you.

Light units available here on the webshop, in stock and ready to ship.
Wiring connectors show as related items. You’ll need 2 for each light unit if you are connecting using this method.