
We’ve sold rear seatbelts for the T3 for a good many years now, initially designed for retro fitting into the rear of a Westfalia T3 models but soon people were asking if we could adapt the kit to suit panel van conversions, naturally we obliged.
The way we got around the lack of factory mounting points was to use universal strengthening plates, it was a solution that worked but could have always been better.
We recently broke a knackered old T3 Caravelle and as some of you know that they had factory seat belt mountings (Models 251 and 252 don’t have factory seatbelt mountings, basically Panel vans where models 253 to 256 Kombi/Caravelle have factory seat belt mountings) so we chopped out the panels and the strengthening, drew them up and sent them off to the machine shop for fabricating.
Naturally with most UK converted “campervans” starting life as basic panel vans they don’t have the factory fitted seatbelt mountings these brackets should help a nice tidy seatbelt install for some customers.
The factory design as been ever so slightly adapted to allow retro fitment without welding and retains the strength that VW built in.
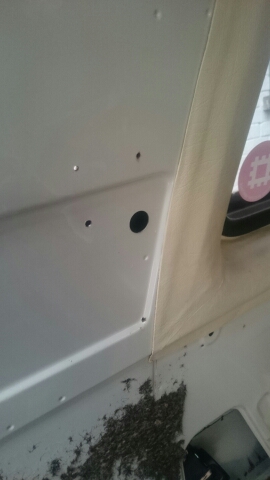
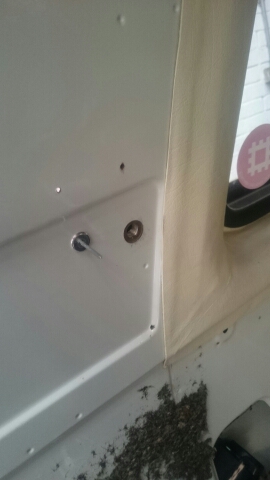
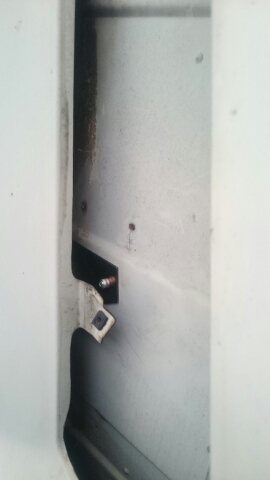
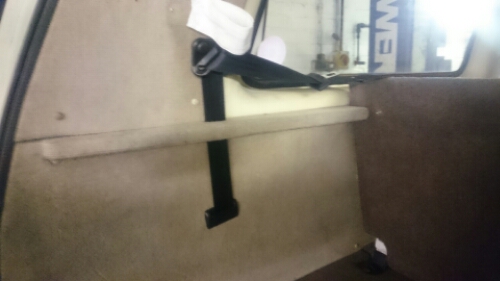
For some reason we’ve sold loads of seatbelts recently but we haven’t been asked to fit any so when we had the opportunity to fit one for a customer the other day it seemed like a perfect opportunity to take a few pictures.
Van was a late Auto-sleeper, obviously we needed to strip out the rear panelling first.
Tools required.
- Scissors [to cut out the drilling template]
- Centre punch.
- Drill
- 5mm drill bit
- 17mm drill/hole saw/cone cut.
- Rivet gun.
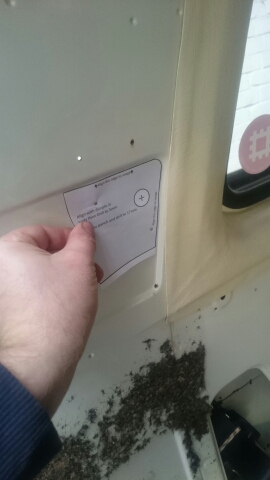
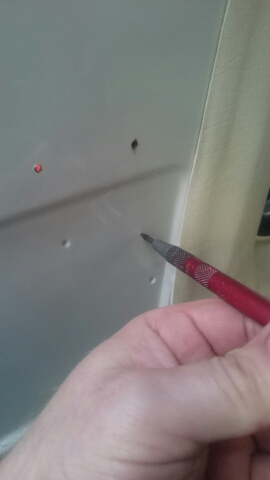
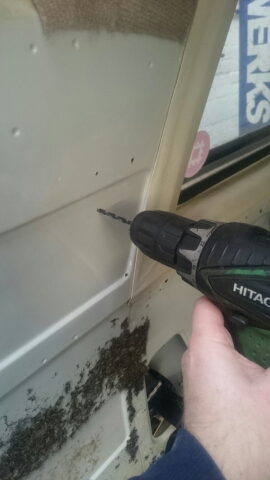
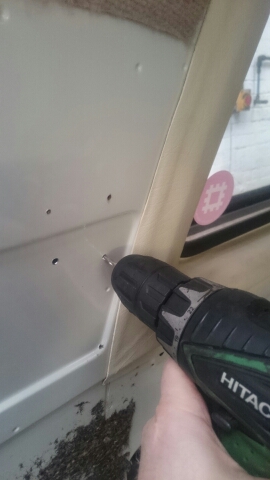


Seatbelt mounting bracket
Seatbelt kit – Rear Left
Seatbelt kit – Rear Right
Seatbelt trim – T3 / T4
Seatbelt mounting bracket – Bulkhead
Outer mounting brackets – Left and Right
